hdorre
Full Member
  
I have made 269 posts 
Likes: 8
Location:
|
Post by hdorre on Jun 4, 2014 20:04:17 GMT -5
Welp, this weekend should be busy.. I got back from the HD this afternoon after work. I was expecting to spend like $35. NOPE! Wound up seeing other stuff I could use and spending double that!  Next, I took a look at tracking.. Everything should be here by Friday   Now, lets give a little shoutout to CleanSierra. I shot him a txt at like 8 last night. I know he was a sweet, precise router setup.. and asked him to make 6 cuts. Well, fuck.. he had them out in the mail around around like noon. Dafuq?? THANKS JUSTIN!! He sent me these pics too.. 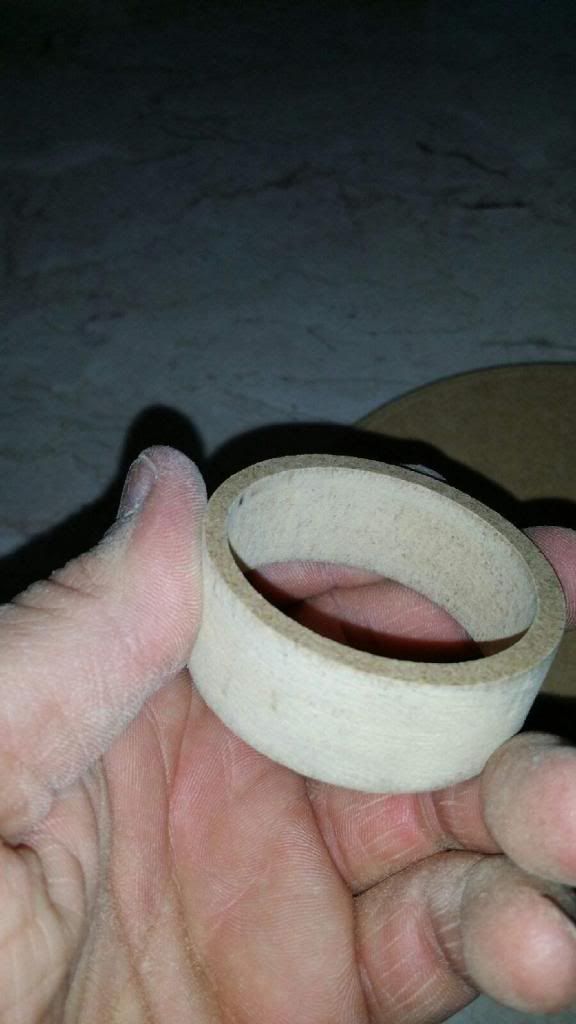 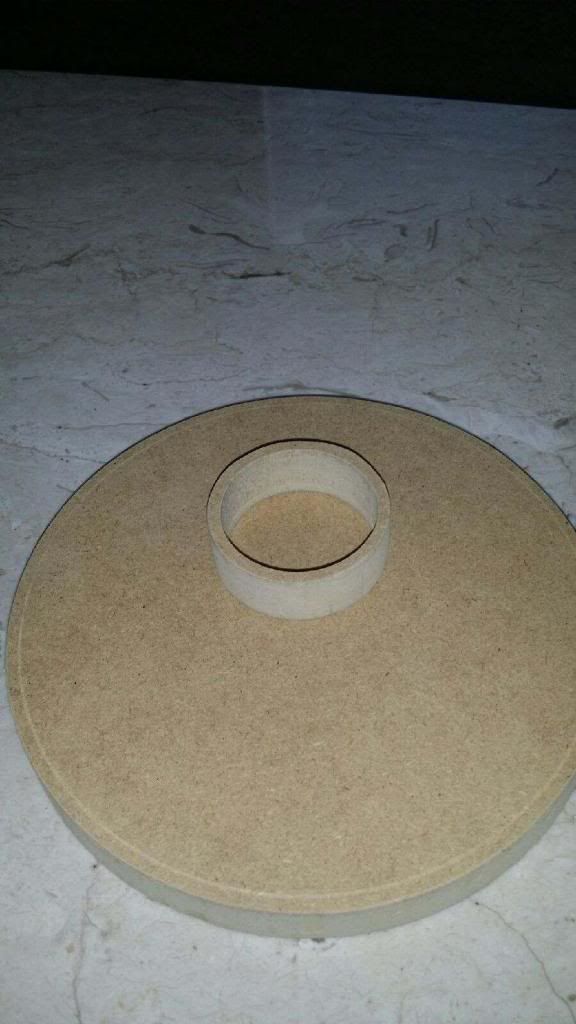 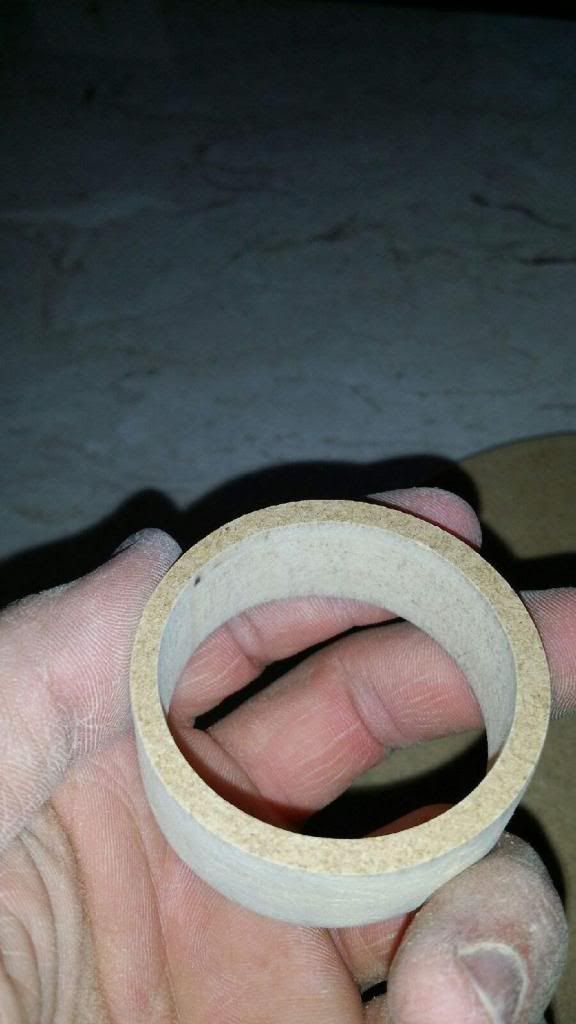 Also, weather should be high 70s - low 80s all weekend, and sunny.. so I should be pretty damn productive  |
|
|
|
Post by ModFreak on Jun 4, 2014 20:22:19 GMT -5
Nice keep the pics coming, tweeter rings or something else?
|
|
hdorre
Full Member
  
I have made 269 posts 
Likes: 8
Location:
|
Post by hdorre on Jun 7, 2014 16:46:27 GMT -5
Worked a LOT today. Fuck, the whole day was spent on Diamond. So, first thing I did was take off the a pillars, strip 'em, and then sand them. 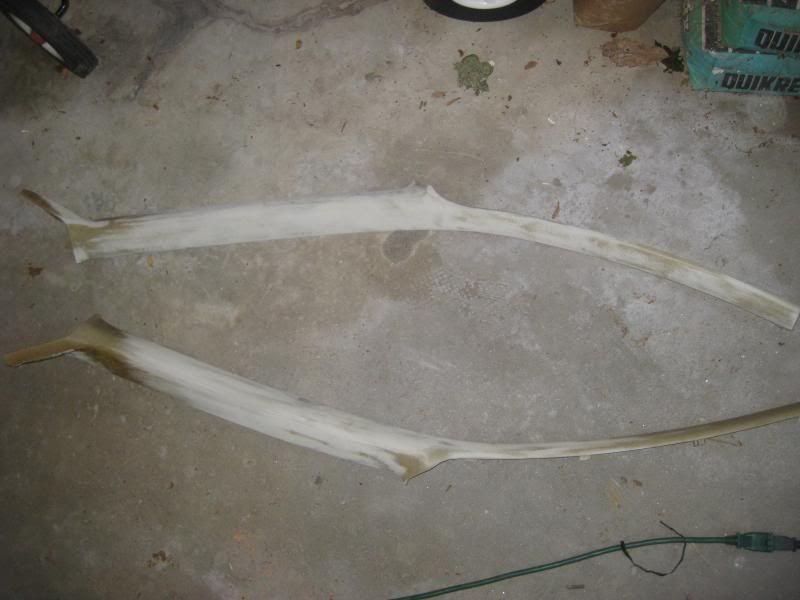 Then, I mounted the rings.. 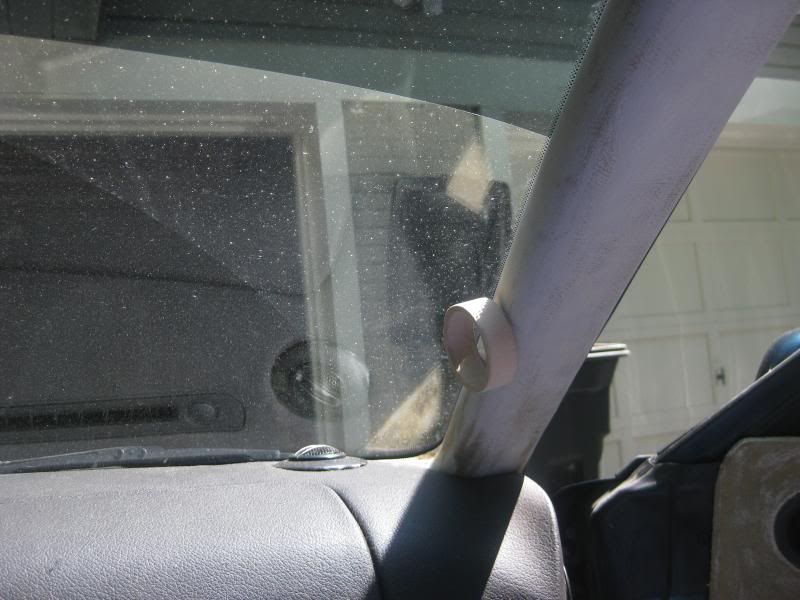 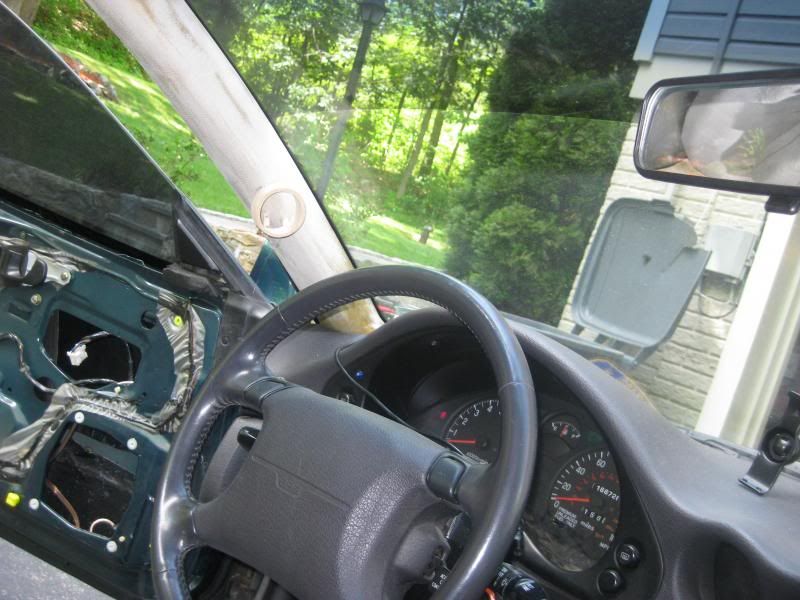 Following that, I wrapped them and got started on the doors. SURPRISE! Under the vinyl, theres foam that had to be sanded off. Ugh.. 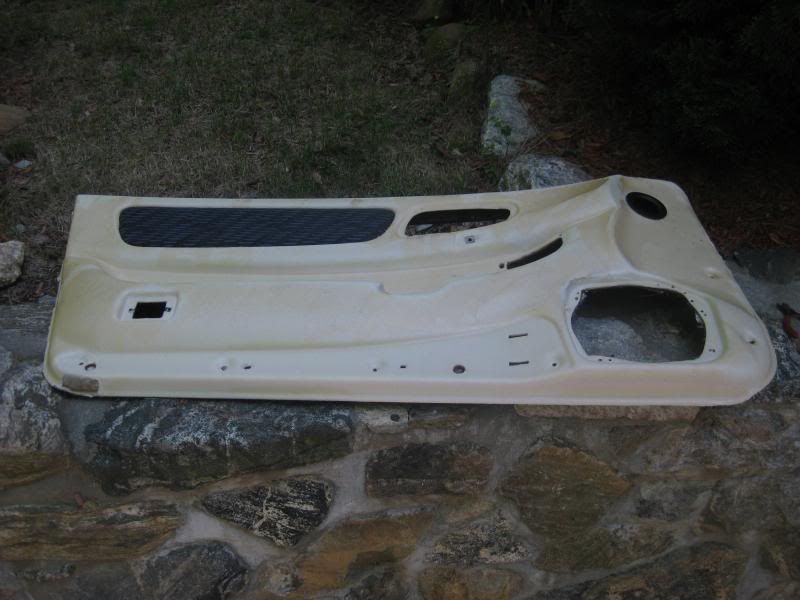 Meh, whatever. Sanded here down a little, and drilled a hole for the second speaker. 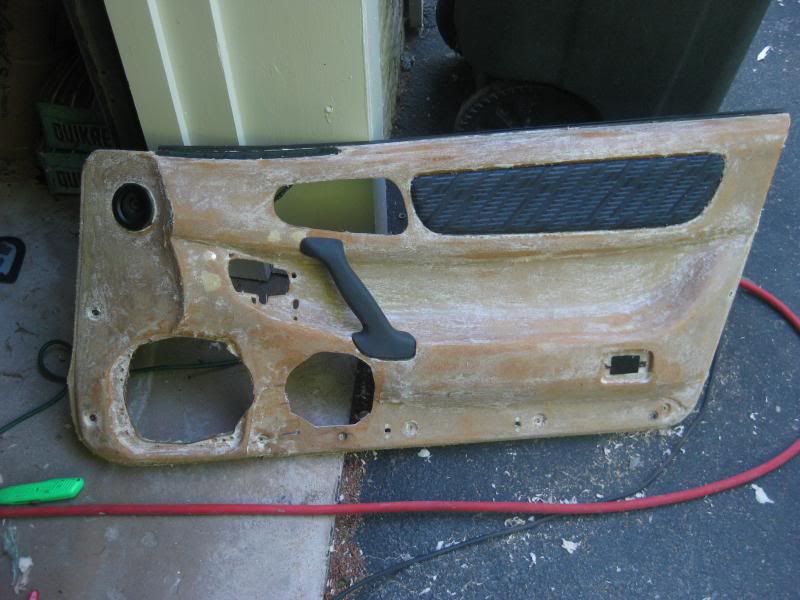 Next, I looked at how much depth I need for the panels. This is where i got PISSED! When I checked for depth before I even bought the drivers months ago, I only looked at the drivers side. The drivers side has adjustable seat bolsters, which i had "in" so that theyd hug me for more spirited driving. Sounds good, right? Allows for more speaker depth. NO! The passengers side doesnt have adjustable bolsters. I debated calling it quits, gave up, and just throwing in an 8 per door. |
|
hdorre
Full Member
  
I have made 269 posts 
Likes: 8
Location:
|
Post by hdorre on Jun 7, 2014 16:51:04 GMT -5
So, here was my solution.. Mounting the mid a little higher. 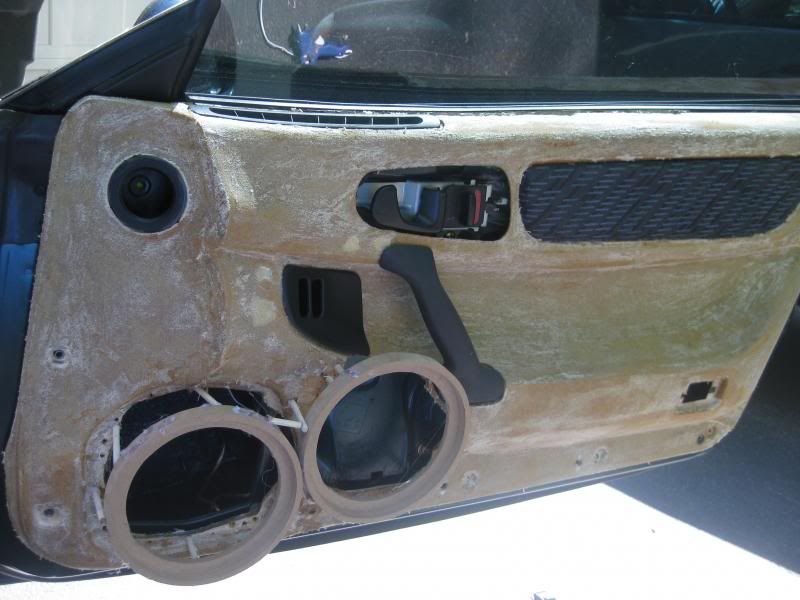 This'll never be seen, so I didnt try to make the holes too clean. 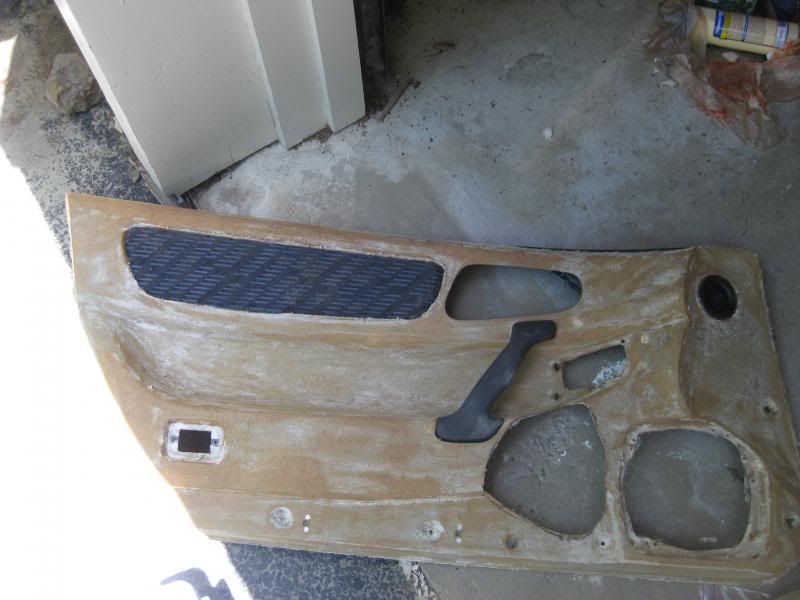 Looks pretty similar, eh? My tape measure thinks so. 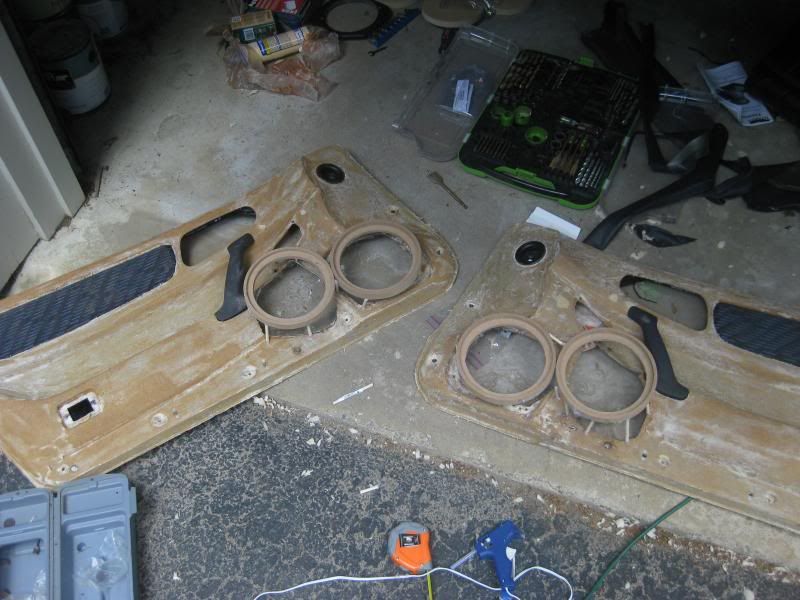 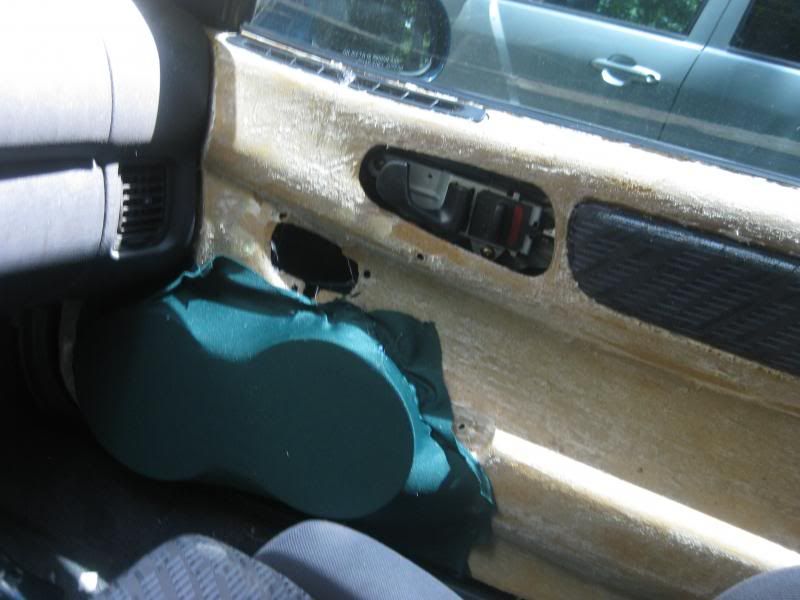 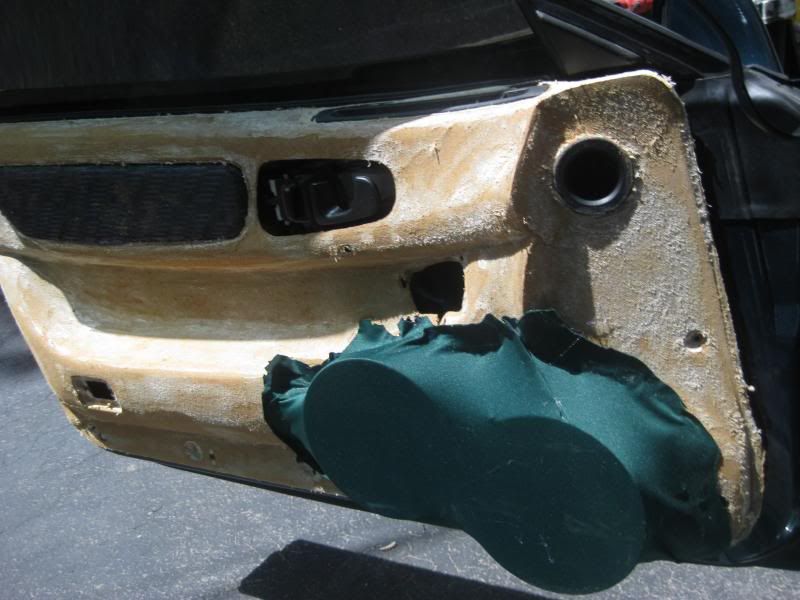 Yes, I cleaned up what I could from the ponte. It didnt want to let any of my blades cut it though. Scissors only get so close. Next, was my dash piece. 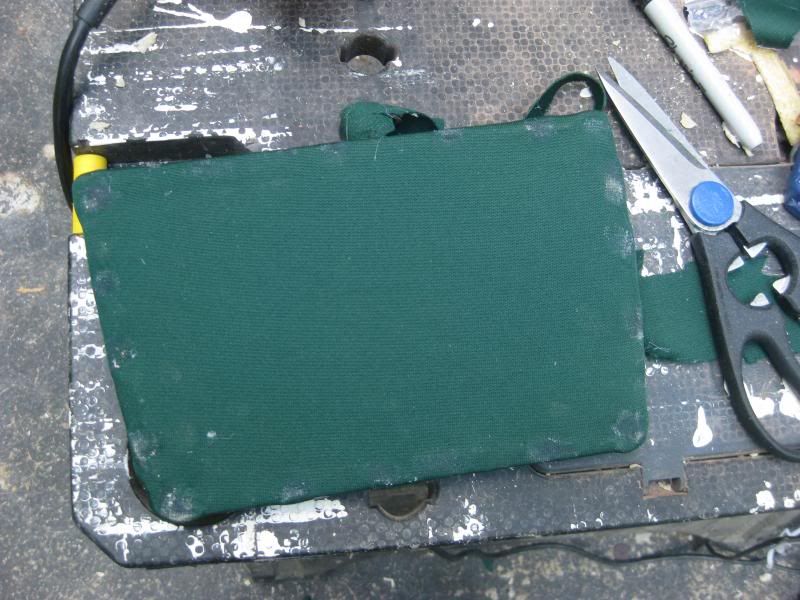 Nothing crazy going on here, but crazy enough to need to be glassed. Heres how it all sits now.. 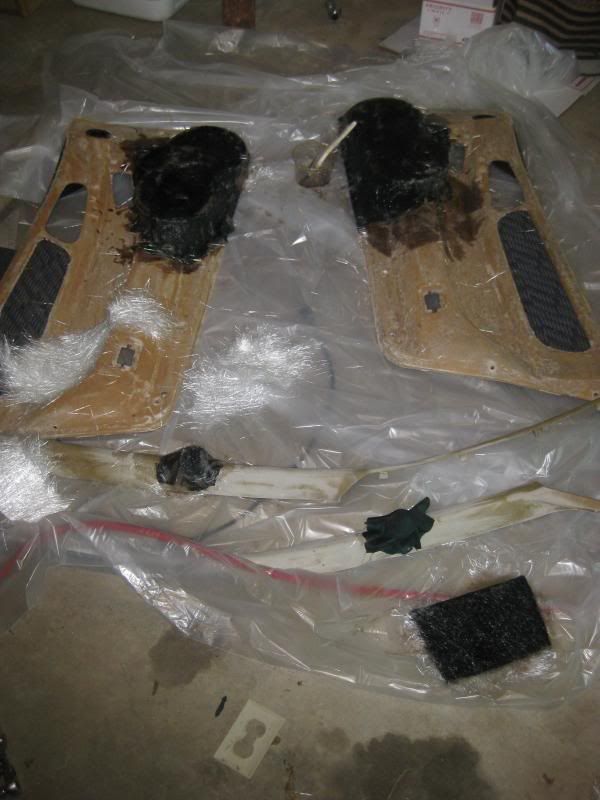 Now, for the doors and pillars, Im thinking of just painting them. It'll save me a LOT of stress LOL |
|
|
|
Post by ModFreak on Jun 7, 2014 17:40:11 GMT -5
Dont be stressed, wrap them bitches
|
|
hdorre
Full Member
  
I have made 269 posts 
Likes: 8
Location:
|
Post by hdorre on Jun 7, 2014 21:21:12 GMT -5
Dont be stressed, wrap them bitches Hahha well see how i feel this week  |
|
hdorre
Full Member
  
I have made 269 posts 
Likes: 8
Location:
|
Post by hdorre on Jun 8, 2014 14:31:44 GMT -5
Little updates.. First thing this morning, before I did any more work to the doors I threw them on for a few pics. Rough, I know.. 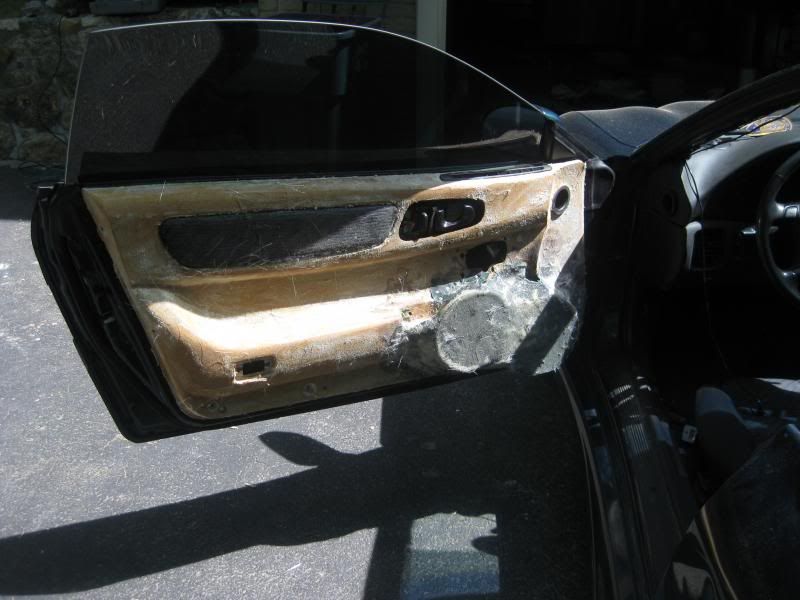 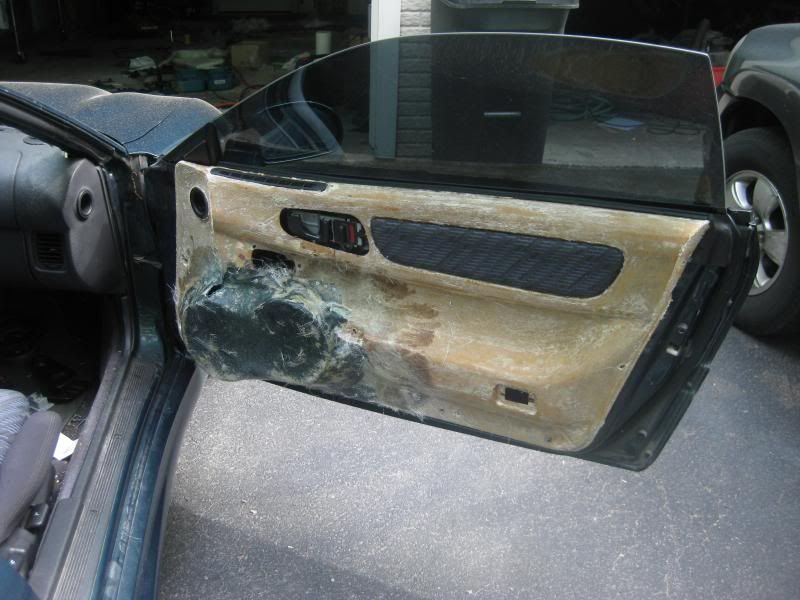 Also.. what do I have going on?? 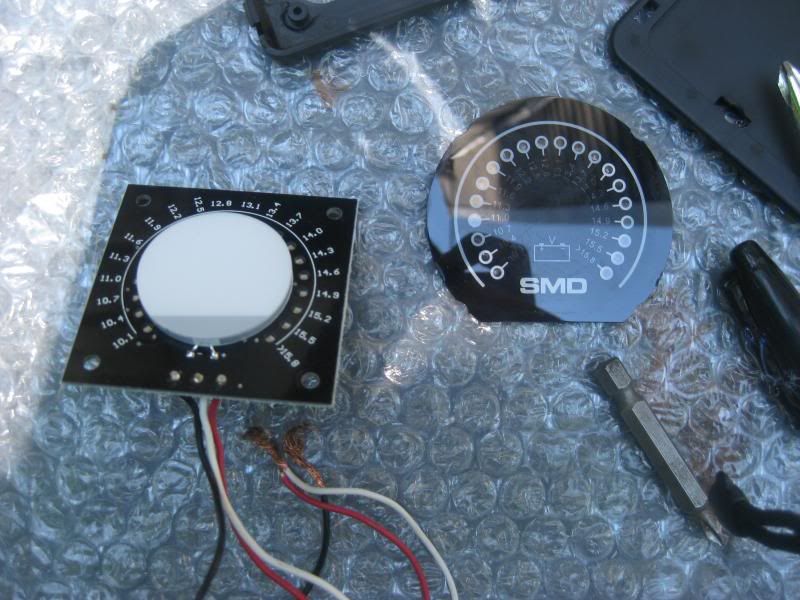 |
|
hdorre
Full Member
  
I have made 269 posts 
Likes: 8
Location:
|
Post by hdorre on Jun 9, 2014 20:56:01 GMT -5
Before doing any more work, i threw them on just to check AGAIN for clearance. Talk about rough... 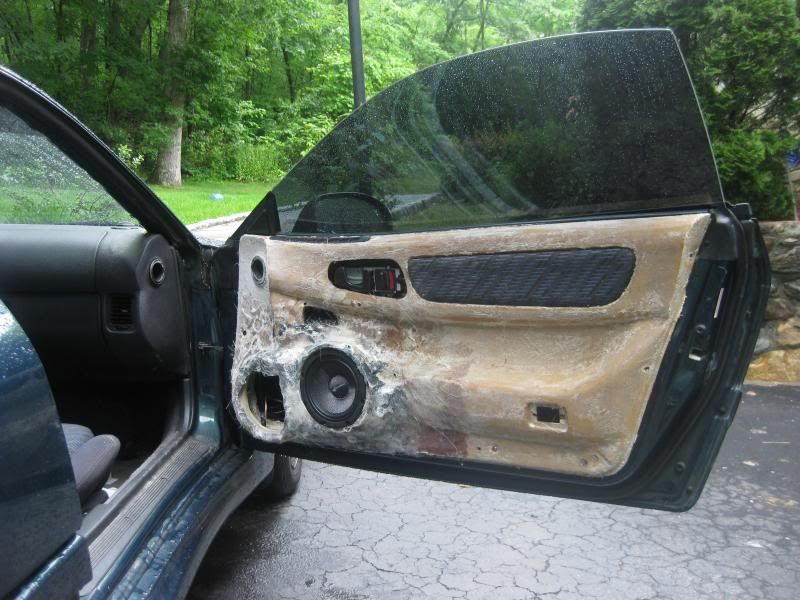 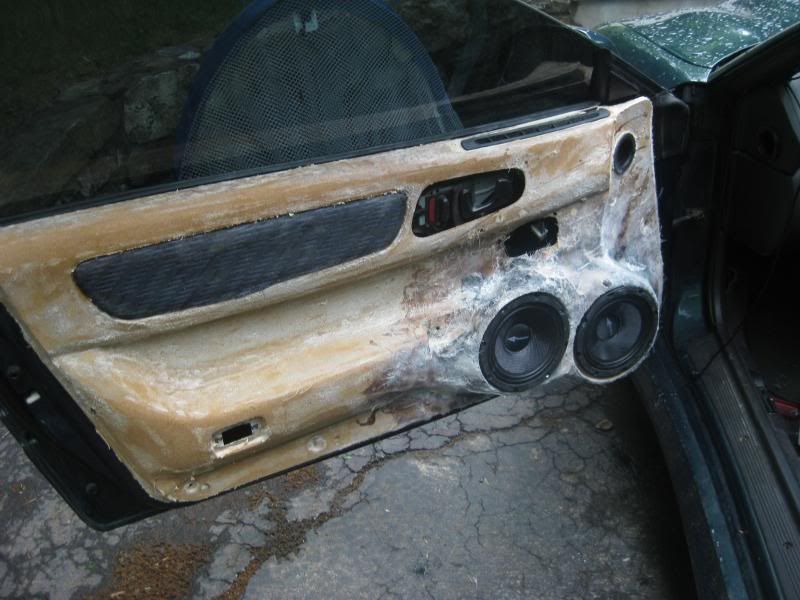 Looks like they need some of this.. 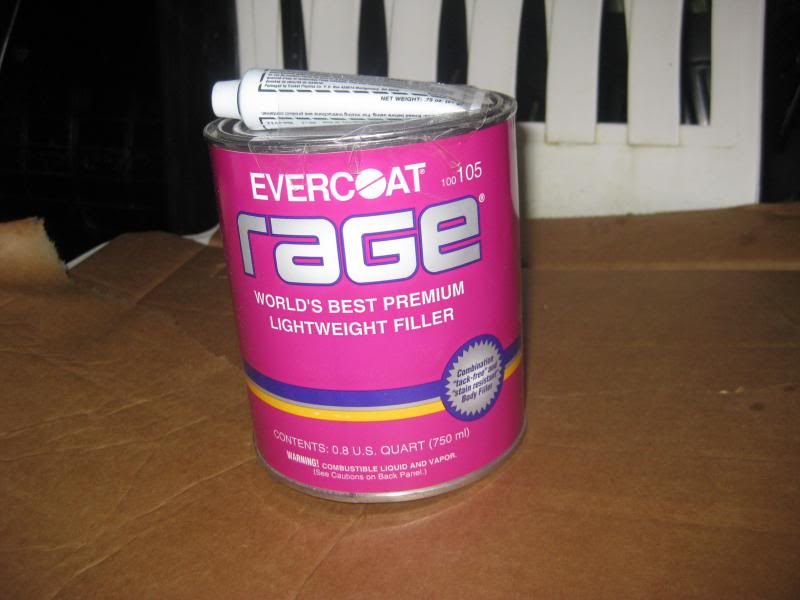 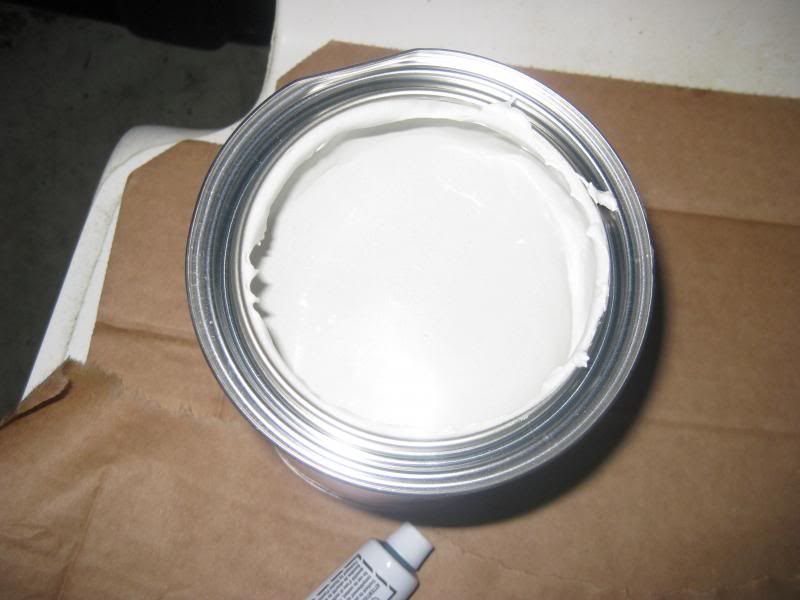  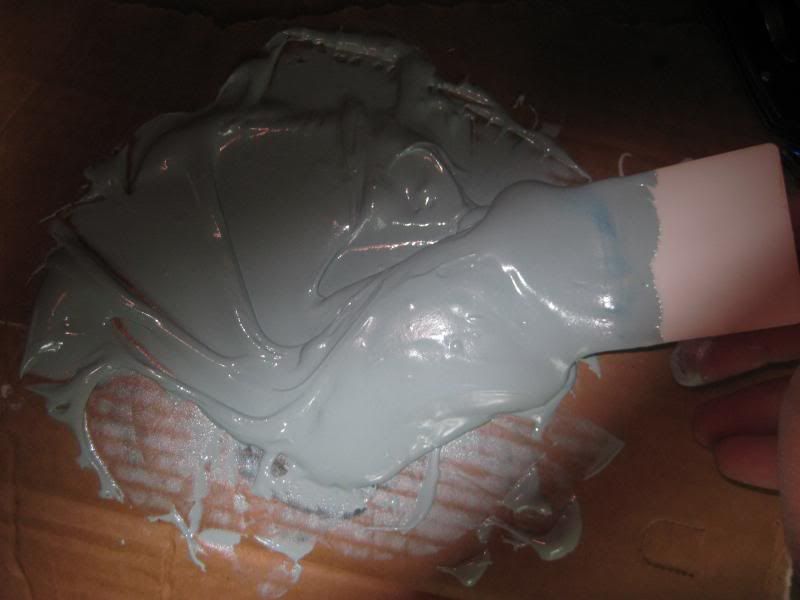 I ran out and need to get some more. Im actually glad I ran out, because I wouldve caked it on. Now that the filler has cured and I've sanded, I see how it works much better. Unfortunately round 2 of the filler will have to wait until NEXT weekend, as i have plans this weekend. Here are pics of them BARELY sanded.. 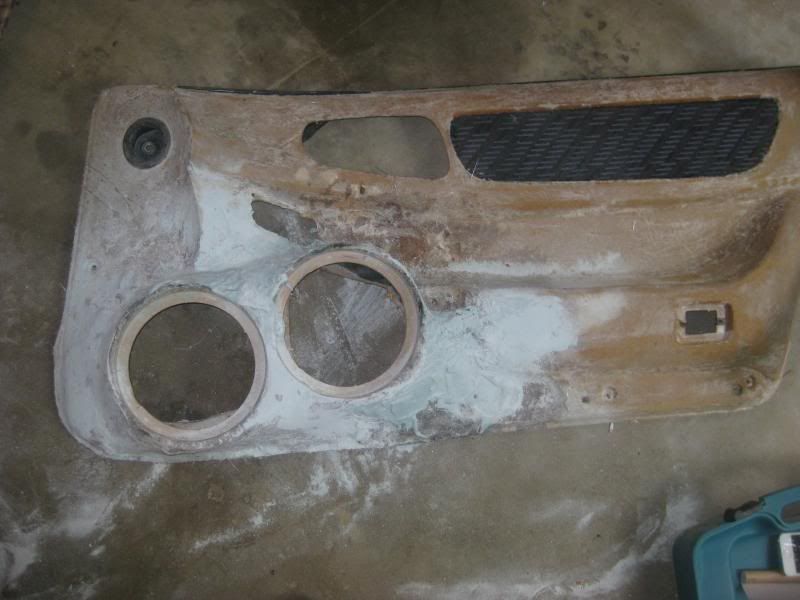 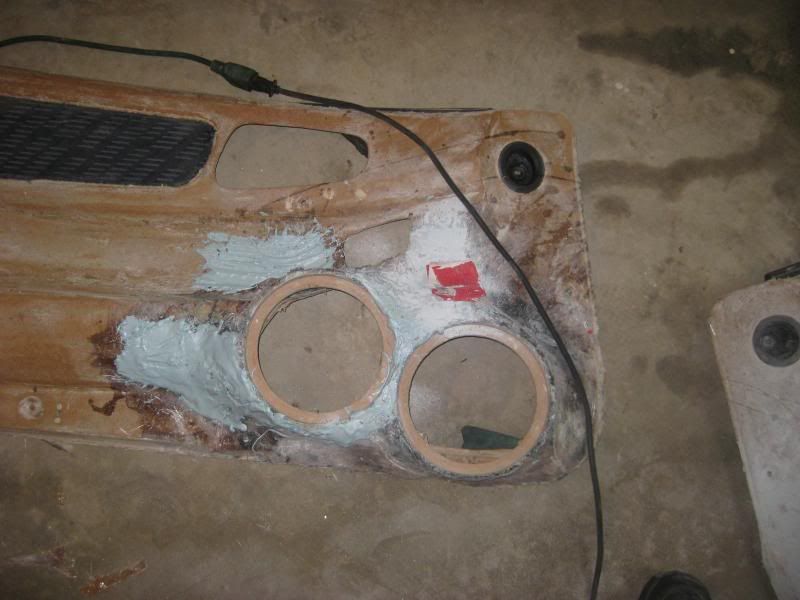 Heres after some more TLC 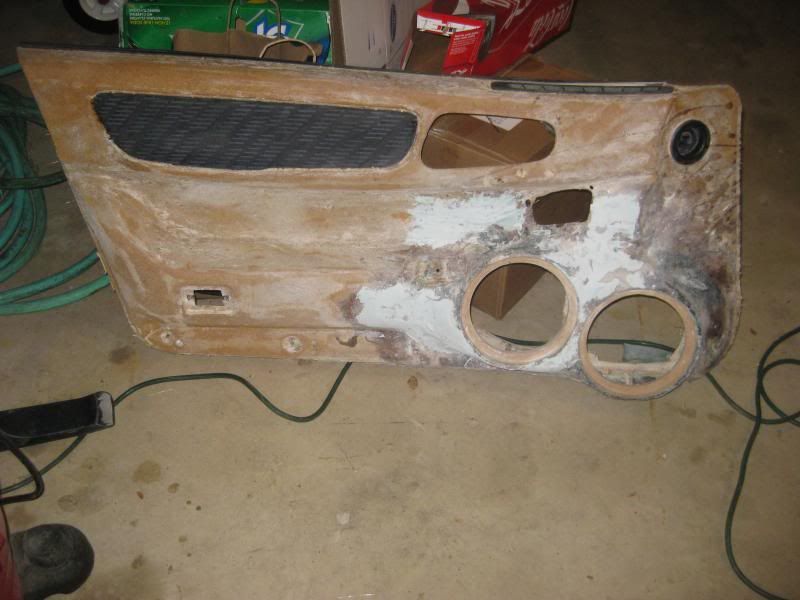 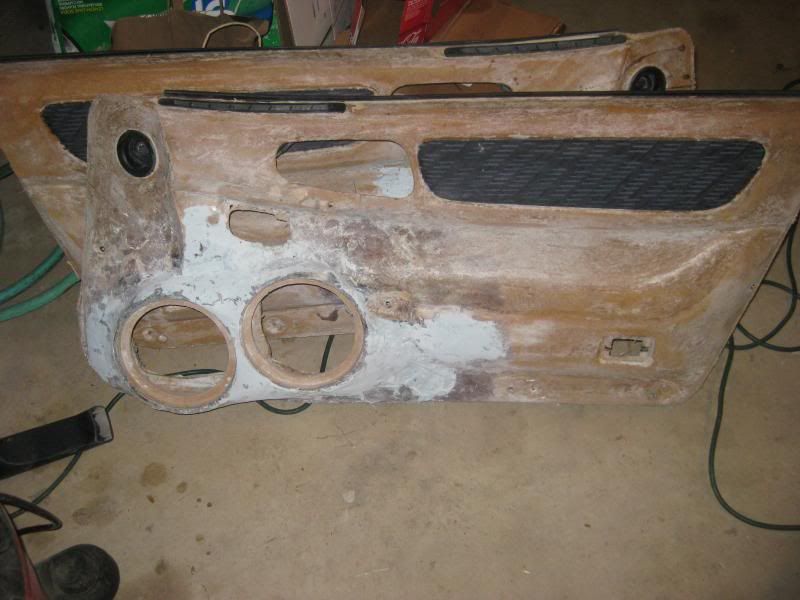 Again, this is all I can do without more filler. It feels butter smooth where I was able to apply the filler, although it looks a bit rough in the pics. |
|
hdorre
Full Member
  
I have made 269 posts 
Likes: 8
Location:
|
Post by hdorre on Jun 9, 2014 21:00:00 GMT -5
Im going to throw them on for like a week and a half until I could do some more work on them. Im only installing the handle and window/lock switches most likely.. No trim pieces.. 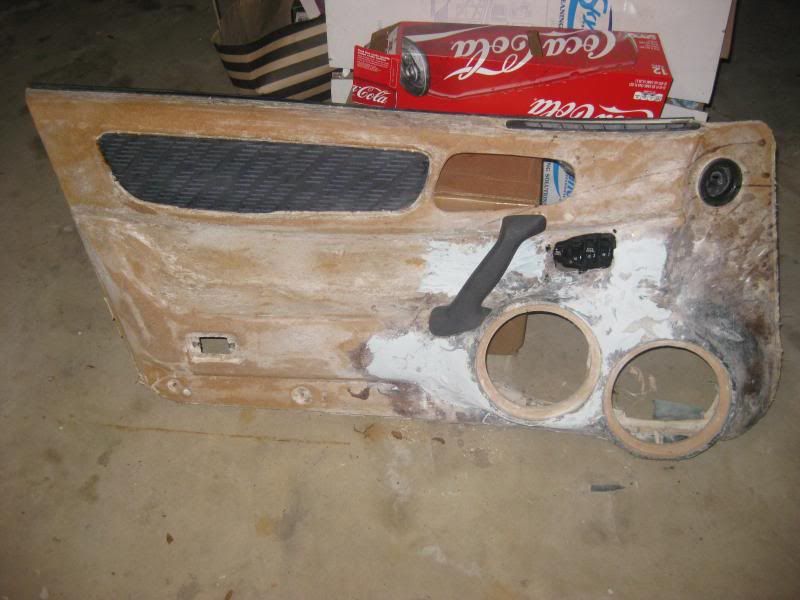 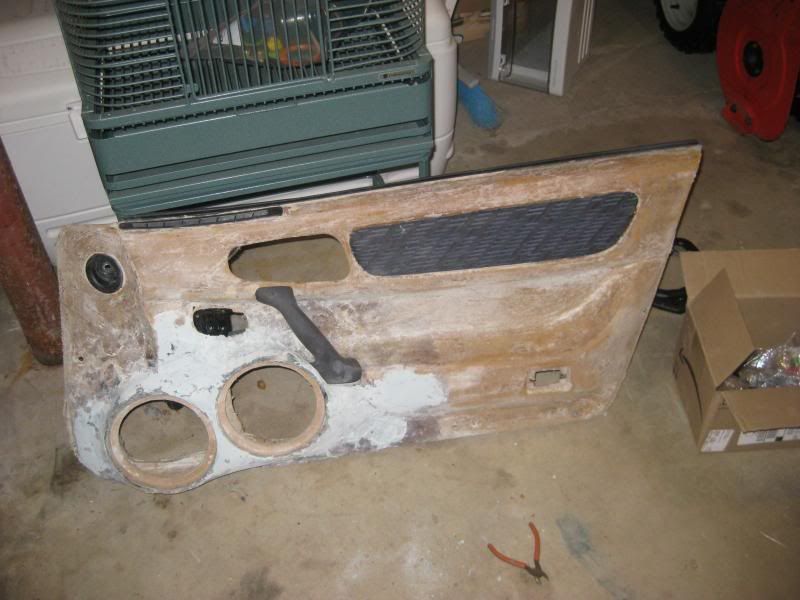 I noticed one little problem. Well, its not really a problem, but its gonna bug me. 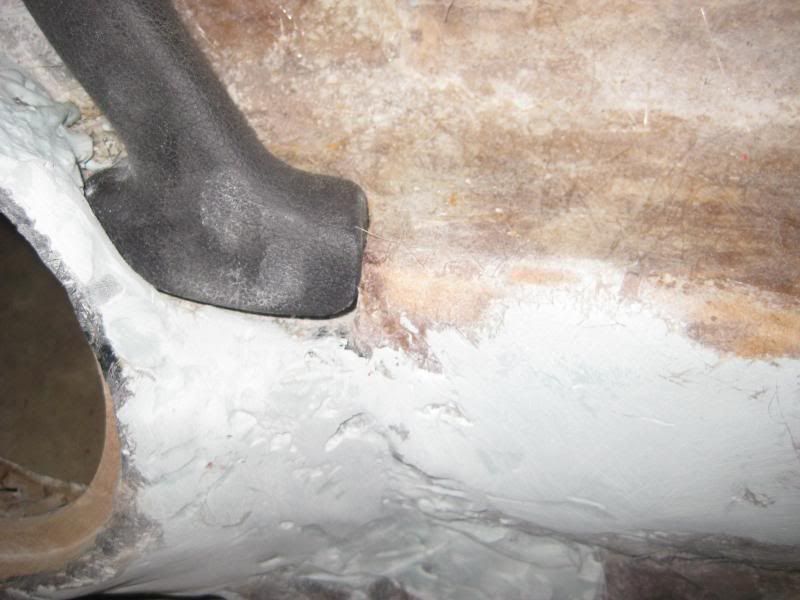 See that little gap? Some filler got in the way. Ill need to sand that off tomorrow. That's all for now. |
|
hdorre
Full Member
  
I have made 269 posts 
Likes: 8
Location:
|
Post by hdorre on Jun 10, 2014 9:57:48 GMT -5
So i threw on the doors for now. It HURTS inside it.. on like 150wrms per side. 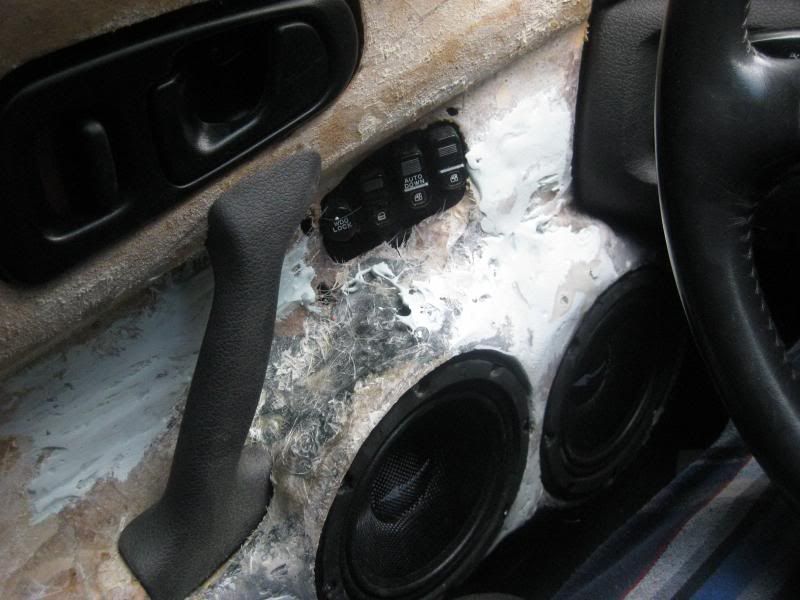  Don't mind the bad video quality.. I mustve mistakenly hit a weird setting. I have plans this upcoming weekend, but the goal is to have them DONE by next Monday. |
|
|
|
Post by aj on Jun 10, 2014 16:24:54 GMT -5
looks great man! wish i had the time to do that! i have no patients when.it som
|
|
hdorre
Full Member
  
I have made 269 posts 
Likes: 8
Location:
|
Post by hdorre on Jun 11, 2014 22:02:46 GMT -5
looks great man! wish i had the time to do that! i have no patients when.it som Haha..yea.. So much sanding!! That and body filling seem to be taking up most of the time. |
|
hdorre
Full Member
  
I have made 269 posts 
Likes: 8
Location:
|
Post by hdorre on Jun 13, 2014 20:52:00 GMT -5
Today was payday.. and I'm waiting for my check to clear. When it does.. Im ordering some short strand body filler and a new dremel. Mine took a shit a few days ago.
I also made up my mind on how I'm finishing the doors/pillars. I was thinking of flocking, for a suede look.. but didnt know that that'd hold up on the doors.
Im using tintable UPOL Raptor Liner, which is a bedliner. I don't mind having a texture.. i actually like the uniqueness and strangeness.. I just don't want it to look like I have painted pebbles on my doors LOL
I found that if I spray with like 70grit, i should be all set. Recommended is like 45-70psi. Apparently as you increase pressure, texture smoothens out.
On monday, Im going into work at noon and working later. This allows me to go to my local Sherwin-Williams in the morning to get paint that matches my interior. I read and was told to get a urethane base coat with no binders, so thats what Im gonna do. I just didnt realize how expensive 12oz of paint could be hahah.. Then again, I guess you gotta pay to play :shrug:
|
|
hdorre
Full Member
  
I have made 269 posts 
Likes: 8
Location:
|
Post by hdorre on Jun 16, 2014 13:58:32 GMT -5
Well.. an update on the doors and pillars.. Im not finishing them. Key word is "I'm."  I don't wanna put him on blast.. but some fheg in Arizona is taking care of them. :wub: He's filling them with short strand filler, filling with smoother filler, sanding, priming, sanding, priming again, and then painting. Talk about a workout lol Now, heres what I started with.. 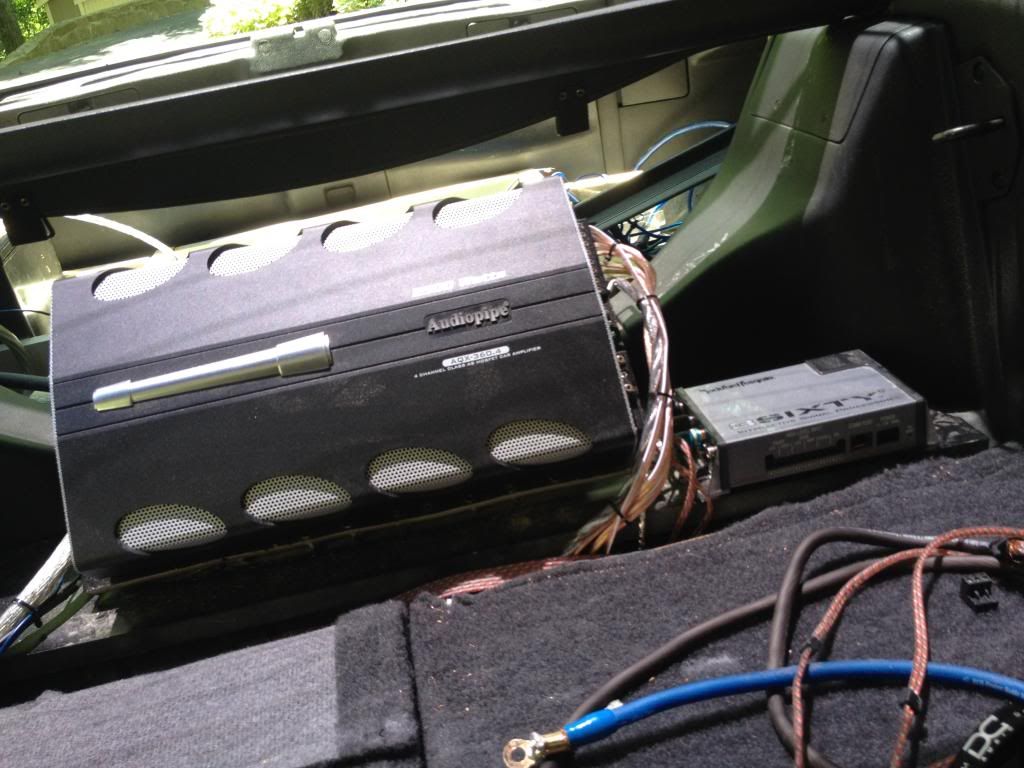 Eh, i liked it. It served its purpose. After I took it out, I could barely break it.. and even getting as far as i did, i put in work lol Everything out: 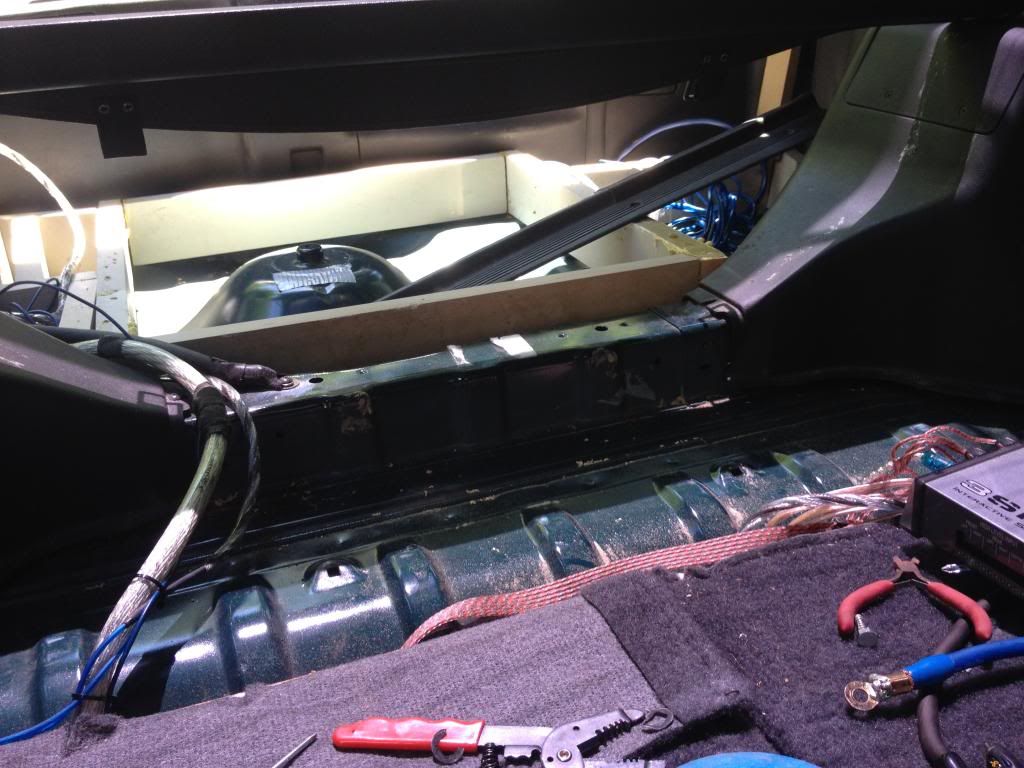 Then I found out something FUCKING AMAZING!! By my strut mounts, theres plastic covering them. What i didnt realize is that theres a hole that goes STRAIGHT through. The hole is huge too. So, I took out my drill and went to town. This makes wiring everything so much easier, because I don't have to hide really any wires.   Then, I checked the time.. I need to head to work soon.. So i didnt have much time. Instead of making even more of a mess by cleaning up those holes, I started taping. Ill get to cleaning up the holes another time.  This was all I had time for. I think you guys will like my amp rack idea  |
|
hdorre
Full Member
  
I have made 269 posts 
Likes: 8
Location:
|
Post by hdorre on Jun 16, 2014 14:02:04 GMT -5
Oh, that last hole is for a power run. See the run in the last pic, that'll run through the cut hole. I just ran out of time.
|
|
hdorre
Full Member
  
I have made 269 posts 
Likes: 8
Location:
|
Post by hdorre on Jun 16, 2014 19:39:11 GMT -5
Figured Id get started on the false floor with the hour I had. First, I finished putting the threaded rod in. Instead of cutting the other 6 runs, I just bent the metal of my car to accept the nut and washer, and then bent it back when done. From there, I Honda'd.. err.. torqued.. down the nuts. 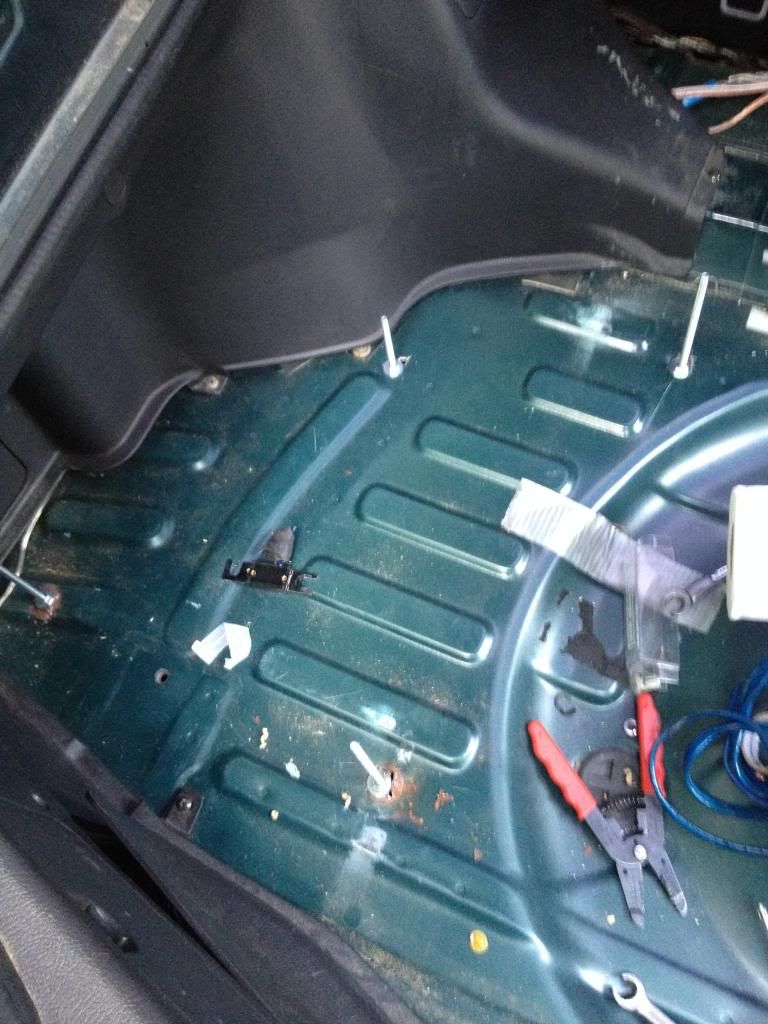 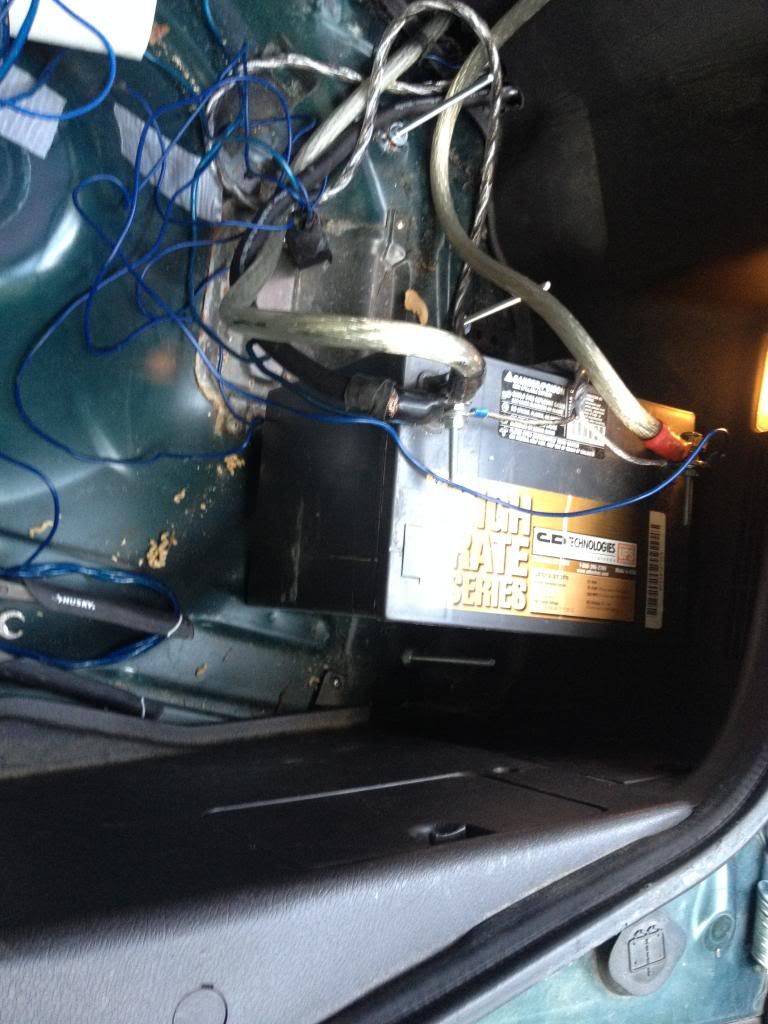 This is all spare, dead wire in the above pic.. dead as in not live LOL Next, I laid down some wood. Ill get to more tomorrow. 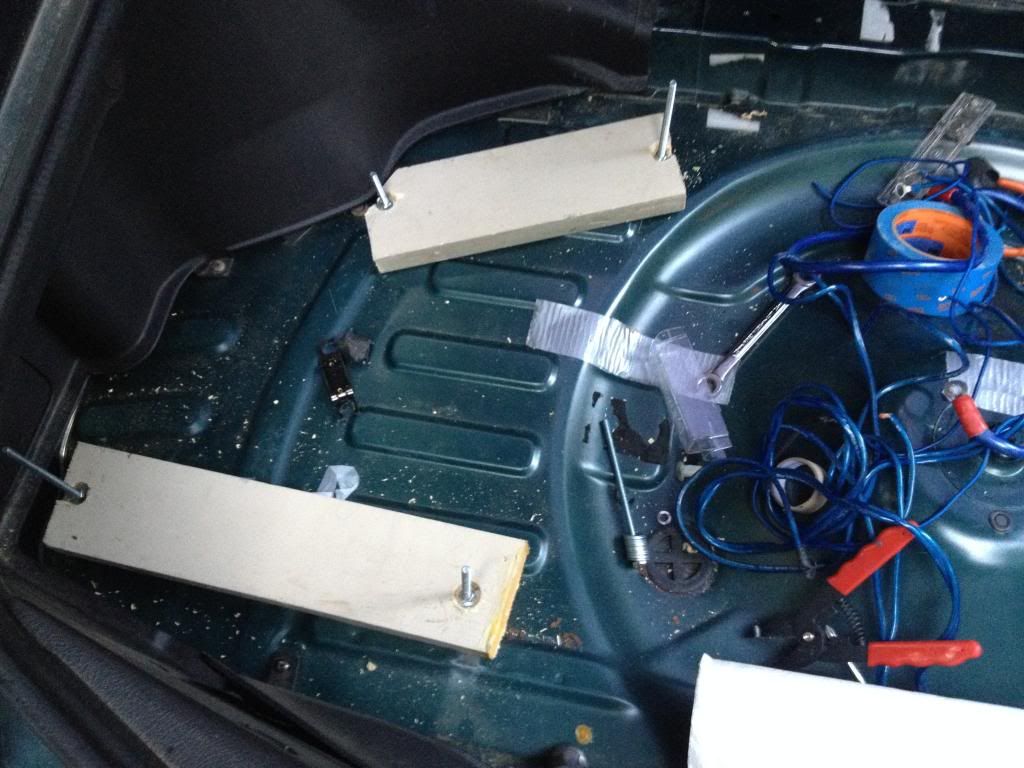 "Flush is King" - Exo 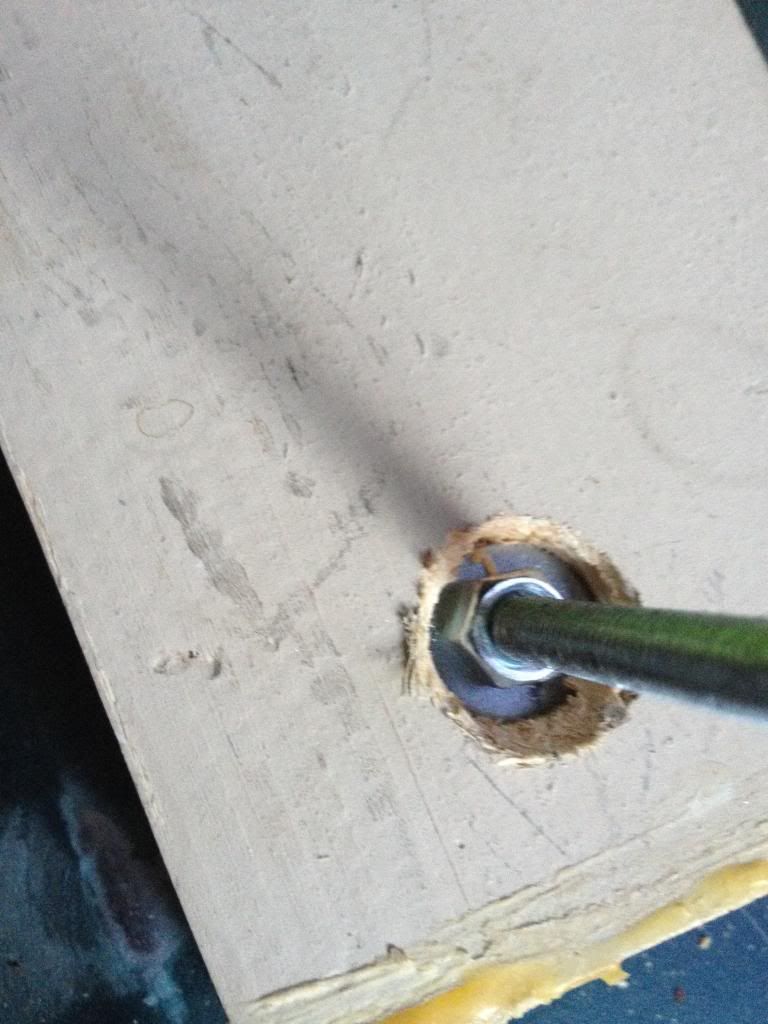 Then, I just mocked this up. 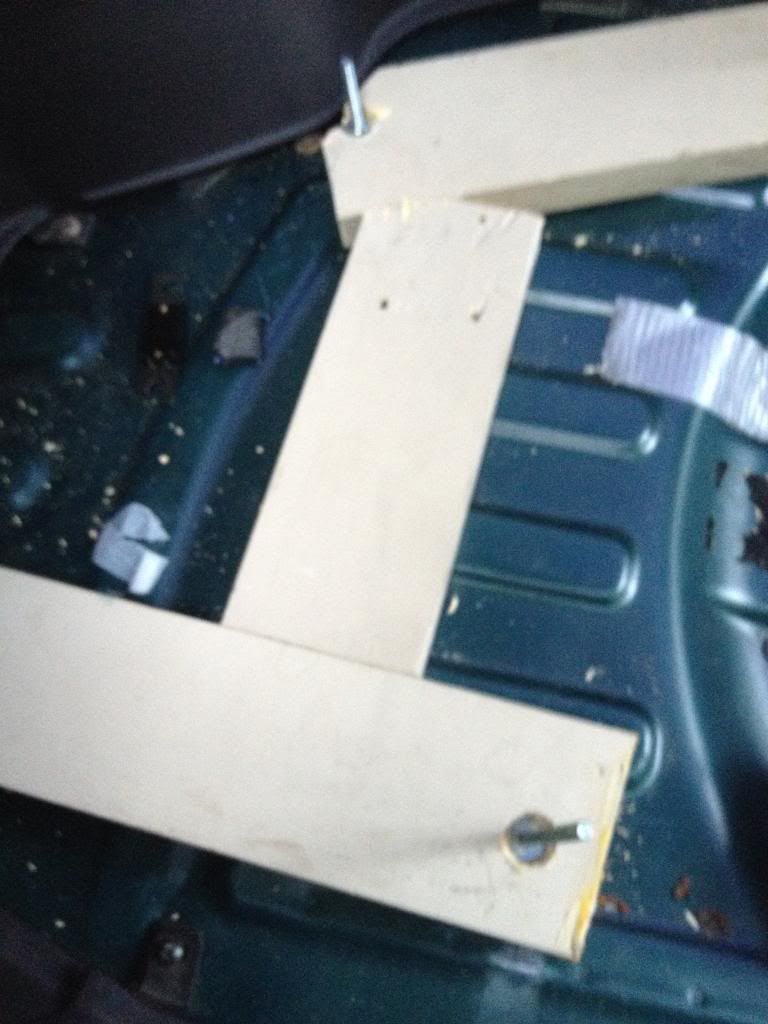 |
|
hdorre
Full Member
  
I have made 269 posts 
Likes: 8
Location:
|
Post by hdorre on Jun 17, 2014 12:21:20 GMT -5
Ok.. So the wood I used yesterday was just to see if my idea worked. It was like 1.25 x 3" wood.. Meh.. To hold down like 300lbs tops, I wanted 2x4. Not needed, but what I want. So, I tore the old wood out. It also made more sense TO ME to lay it down "vertically" I also cut off the extra threaded rod. We have like every tool but an angle saw, so I used a reciprocating saw.. I know.. Stupid, but Im young..  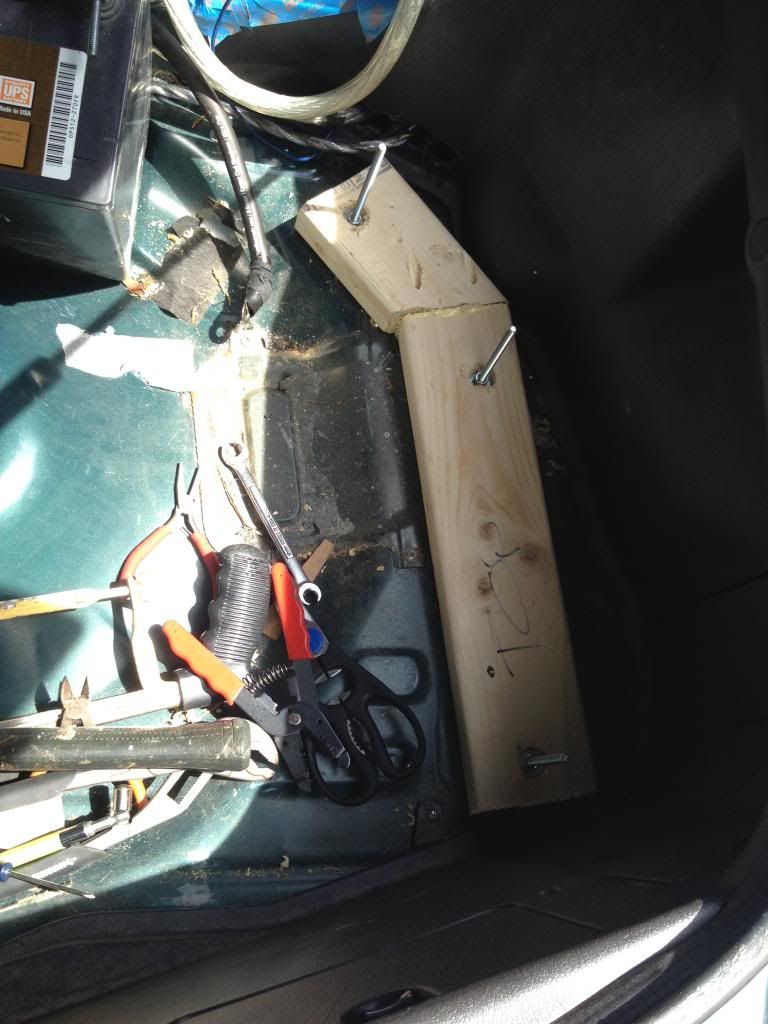 I got to finally use my Kreg Jig too :clapping: Mostly done.. I need some more reinforcement up top. I ran out of 2x4, but I have a plan :good:  Note that the batt is just there for now. Kreg Jig :wub: Left side.. 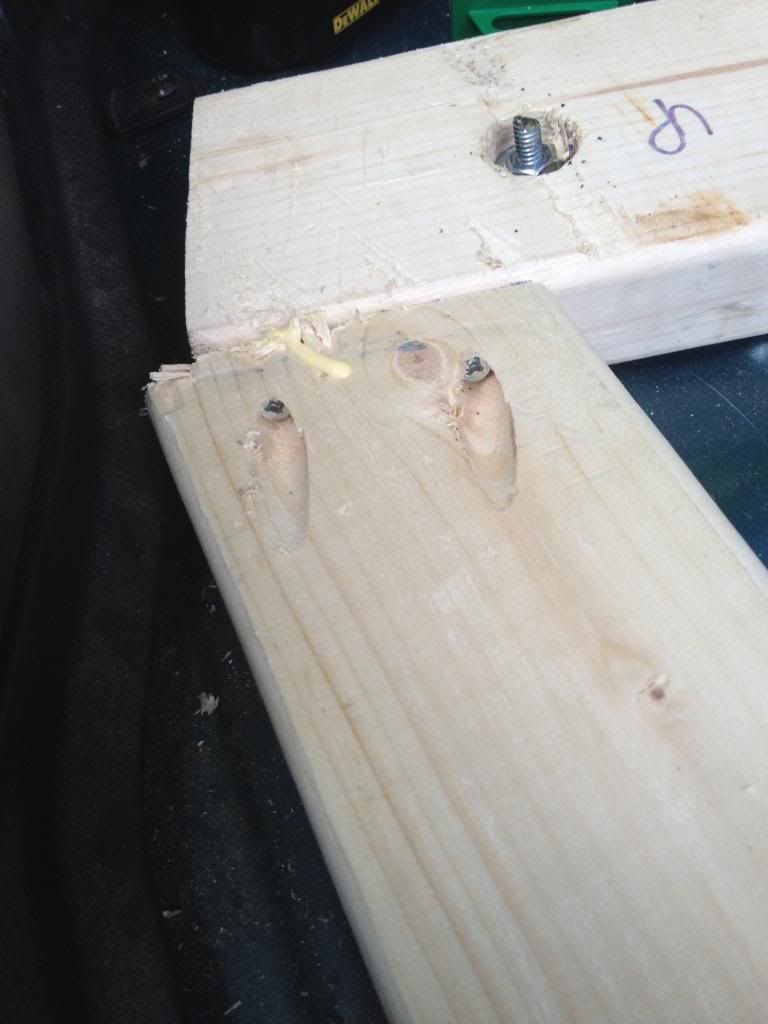 Right..  Heres the right part of the base..  Held down with Spax #14 screws, which are 2 1/2" long. 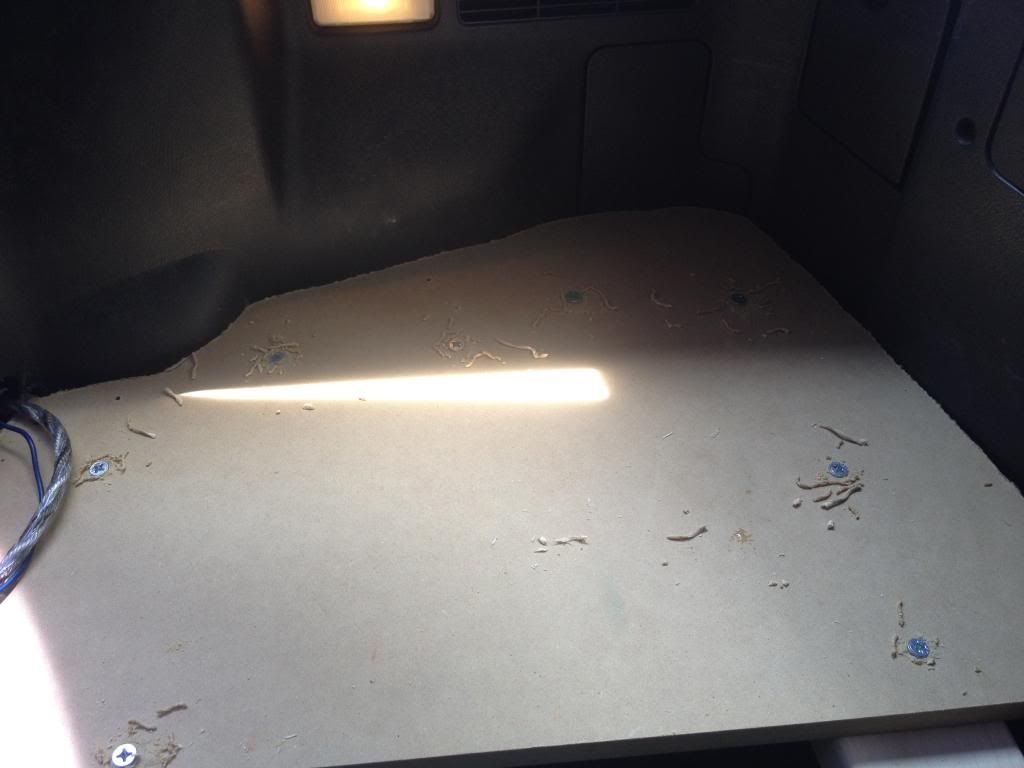 Ill be glassing around the spare tire well, so i figured Id start cleaning & taping now while I still had space. 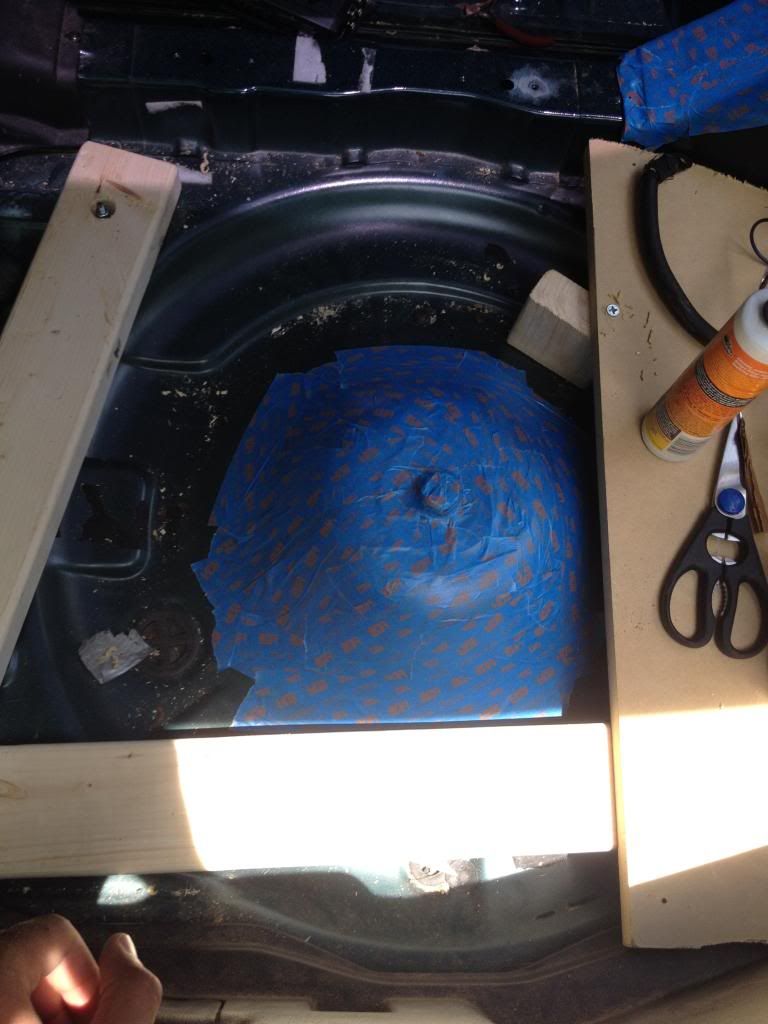 I ran out of #14 screws and already went to HD this morning.. So this is where I stopped. Ill grab some after work most likely. |
|
hdorre
Full Member
  
I have made 269 posts 
Likes: 8
Location:
|
Post by hdorre on Jun 17, 2014 20:01:59 GMT -5
Well, I have the door panels off.. I just need to box those up with my window switch trim and a pillars and ship 'em out.  Other door is the same way. While I have access, I figured Id take advantage..  Some more Damp Pro I had laying around. |
|
hdorre
Full Member
  
I have made 269 posts 
Likes: 8
Location:
|
Post by hdorre on Jun 18, 2014 11:48:57 GMT -5
Hahah Larry  Alright, I finished the false floor/box base. 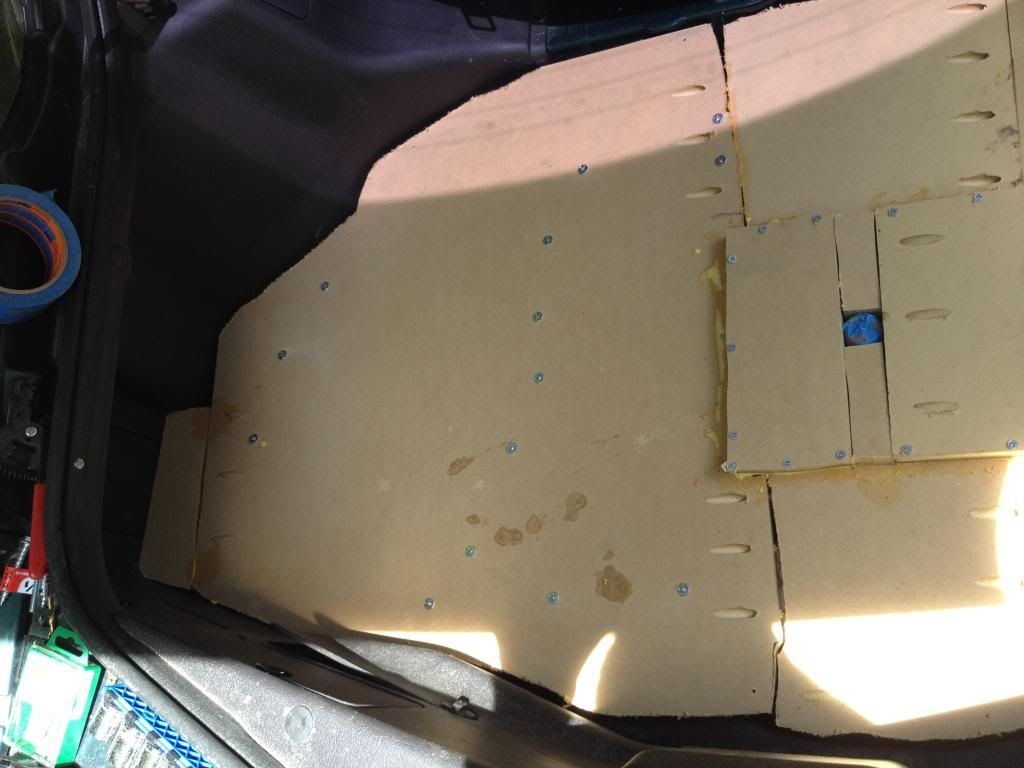 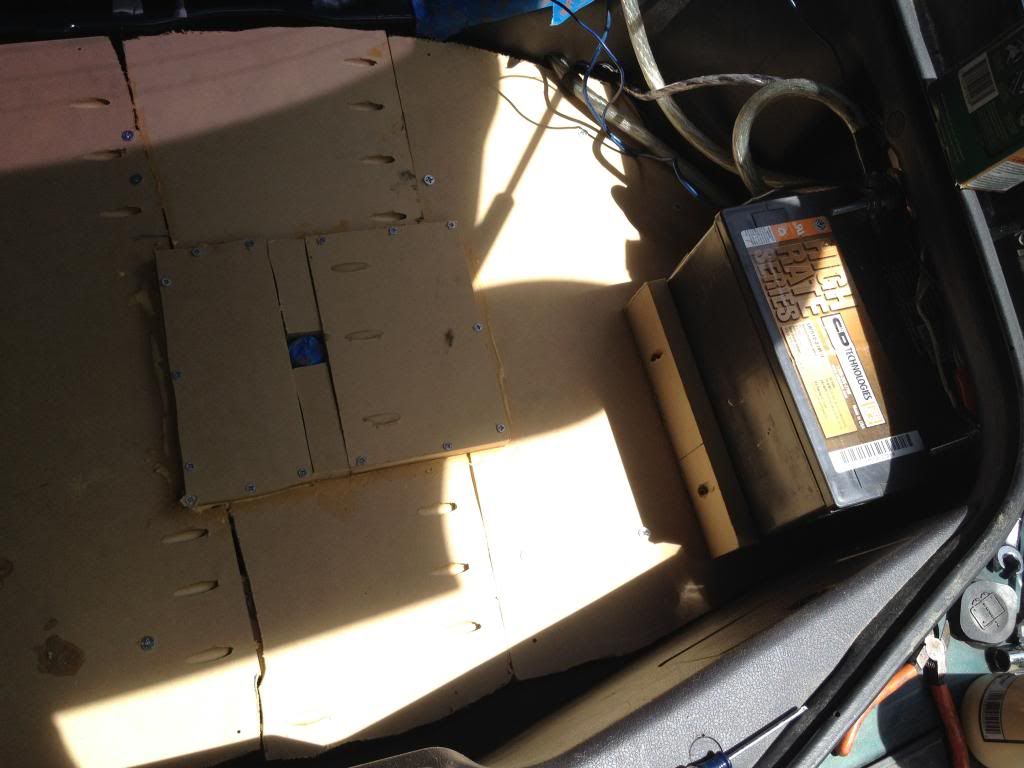 Ok.. now for some details.. I DIDNT have to glass around the spare tire well. The .75" width of the wood was all I needed to clear the hump. So, I used wood instead of FG. Its faster, less of a mess, and wont get me high. Next, the gaps look huge! In reality, the largest one is .25" wide. Ill be using PL Premium 8x to fill that, and maybe even a layer or two of resin and mat. I have a ton left over, so why not use it? Lastly, see the batt "holder." Thats only temporary. When I get my XS batt, ill make a nice one. It just seemed like an absolute waste of time to make two nice holders, just to throw one of them out after like 2 weeks. I just needed something to hold down the current batt so I can drive Diamond again. |
|
hdorre
Full Member
  
I have made 269 posts 
Likes: 8
Location:
|
Post by hdorre on Jun 23, 2014 20:25:37 GMT -5
|
|